Water Bath Canning: A Complete Guide to Safe Home Preserving
There's something wonderfully satisfying about filling your pantry with homemade preserves. Whether you're putting up jars of strawberry jam, pickles, relish, or tomato sauce, home canning is a lovely way to enjoy seasonal flavours long after the harvest is over.
But successful home canning involves more than filling Mason jars and waiting for that familiar pop! as the lids seal.
Safe home canning begins with a scientifically tested recipe, properly prepared jars, and the correct processing method and time.
In this guide, I'll walk you through preparing your jars and lids, filling them correctly, processing them in a boiling-water canner, checking the seals, and storing your preserves safely.
Before You Begin: Which Foods Can Be Water Bath Canned?
Water bath canning, also called boiling-water canning, is suitable for sufficiently acidic foods prepared according to scientifically tested canning recipes.
Some examples include:
Jams, jellies, and marmalades
Fruits and certain fruit preserves
Pickles and vegetables preserved in properly acidified brines
Chutneys and relishes made from tested recipes
Certain tomato sauces and tomato products with the required added acid
Certain hot sauces with validated formulations and processing instructions
Not every food is suitable for water bath canning.
Plain vegetables, meat, poultry, fish, seafood, and most soups are low-acid foods. They generally require pressure canning using a scientifically tested procedure.
Tomatoes are borderline acidic and generally require additional acidification according to the tested recipe.
It's also important to remember that adding vinegar or lemon juice to a homemade recipe does not automatically make it safe for water bath canning.
The finished acidity, ingredient proportions, thickness of the mixture, jar size, and processing time all affect the safety of the finished preserve.
The most important rule: always begin with a scientifically tested canning recipe and follow its ingredient proportions, preparation method, and processing instructions.
Equipment You'll Need
Before you begin, gather your canning supplies:
Mason jars specifically designed for home canning
New, unused flat sealing lids
Screw bands in good condition
A large boiling-water canner with a fitted lid
A canning rack to keep the jars off the bottom of the pot
A jar lifter
A wide-mouth canning funnel
A nonmetallic bubble remover or plastic spatula
Clean kitchen towels
A headspace measuring tool
A sufficiently deep stockpot may also be used if it has a suitable rack, allows the jars to stand upright, and provides enough room to keep them completely covered with water throughout processing.
Step 1: Inspect and Prepare Your Jars
Carefully examine each jar for cracks, chips, or other damage, particularly around the rim.
Even a small chip can prevent a proper seal.
Wash the jars in hot, soapy water and rinse thoroughly.
Keep the jars hot until you're ready to fill them. You can do this by placing them in a pot of hot water.
Do Mason Jars Need to Be Sterilized First?
That depends on the processing time specified in your tested recipe.
If your recipe requires at least 10 minutes of boiling-water processing at elevations of 1,000 feet (305 metres) or less, pre-sterilizing the empty jars is unnecessary.
If the tested processing time is less than 10 minutes, sterilize the empty jars by submerging them in boiling water for 10 minutes, with the appropriate adjustment for altitude.
Pre-sterilizing empty jars never replaces the required processing of filled jars.
Step 2: Prepare the Lids and Screw Bands
Use a new flat sealing lid for each jar.
Screw bands can be reused as long as they are clean, rust-free, and undamaged.
Wash the lids and bands in warm, soapy water, rinse, and set aside.
Modern Ball and Bernardin sealing lids generally do not require boiling or preheating before use.
Always follow the manufacturer's instructions for the particular lids you're using.
Step 3: Fill the Jars
Prepare your food according to the directions in your scientifically tested recipe.
If the recipe calls for hot packing, keep the prepared food hot while filling the jars.
Using a canning funnel, carefully ladle or pack the food into the hot jars.
Leave the Correct Headspace
Headspace is the empty space between the surface of the food and the top rim of the jar.
It allows food to expand during processing and helps the jar form a proper vacuum seal.
The amount of headspace varies depending on the food and the recipe.
For example, many jam recipes call for ¼ inch (0.5 cm) of headspace, while some tomato products, pickles, and relishes require ½ inch (approximately 1 cm).
Always use the exact headspace specified in your tested recipe.
Remove Trapped Air Bubbles
Slide a nonmetallic bubble remover or plastic spatula gently down the inside of the jar to release trapped air.
Repeat around the jar, then check the headspace again and adjust if necessary.
Wipe the jar rim thoroughly with a clean, damp cloth to remove any food residue that could interfere with sealing.
Step 4: Apply the Lids — Fingertip Tight!
Centre a new flat sealing lid on the clean rim of each jar.
Place the screw band over the lid and turn it until you feel resistance. Tighten gently using only your fingertips.
Do not overtighten the bands.
During processing, air needs to escape from the jars.
A screw band that is too tight may prevent this from happening and interfere with proper sealing.
Avoid using excessive force or tightening the bands with your whole hand.
Step 5: Prepare the Boiling-Water Canner
Place a canning rack inside your canner or deep stockpot.
Add enough water to cover the tops of the filled jars by at least 1–2 inches (2.5–5 cm), as required by the tested procedure.
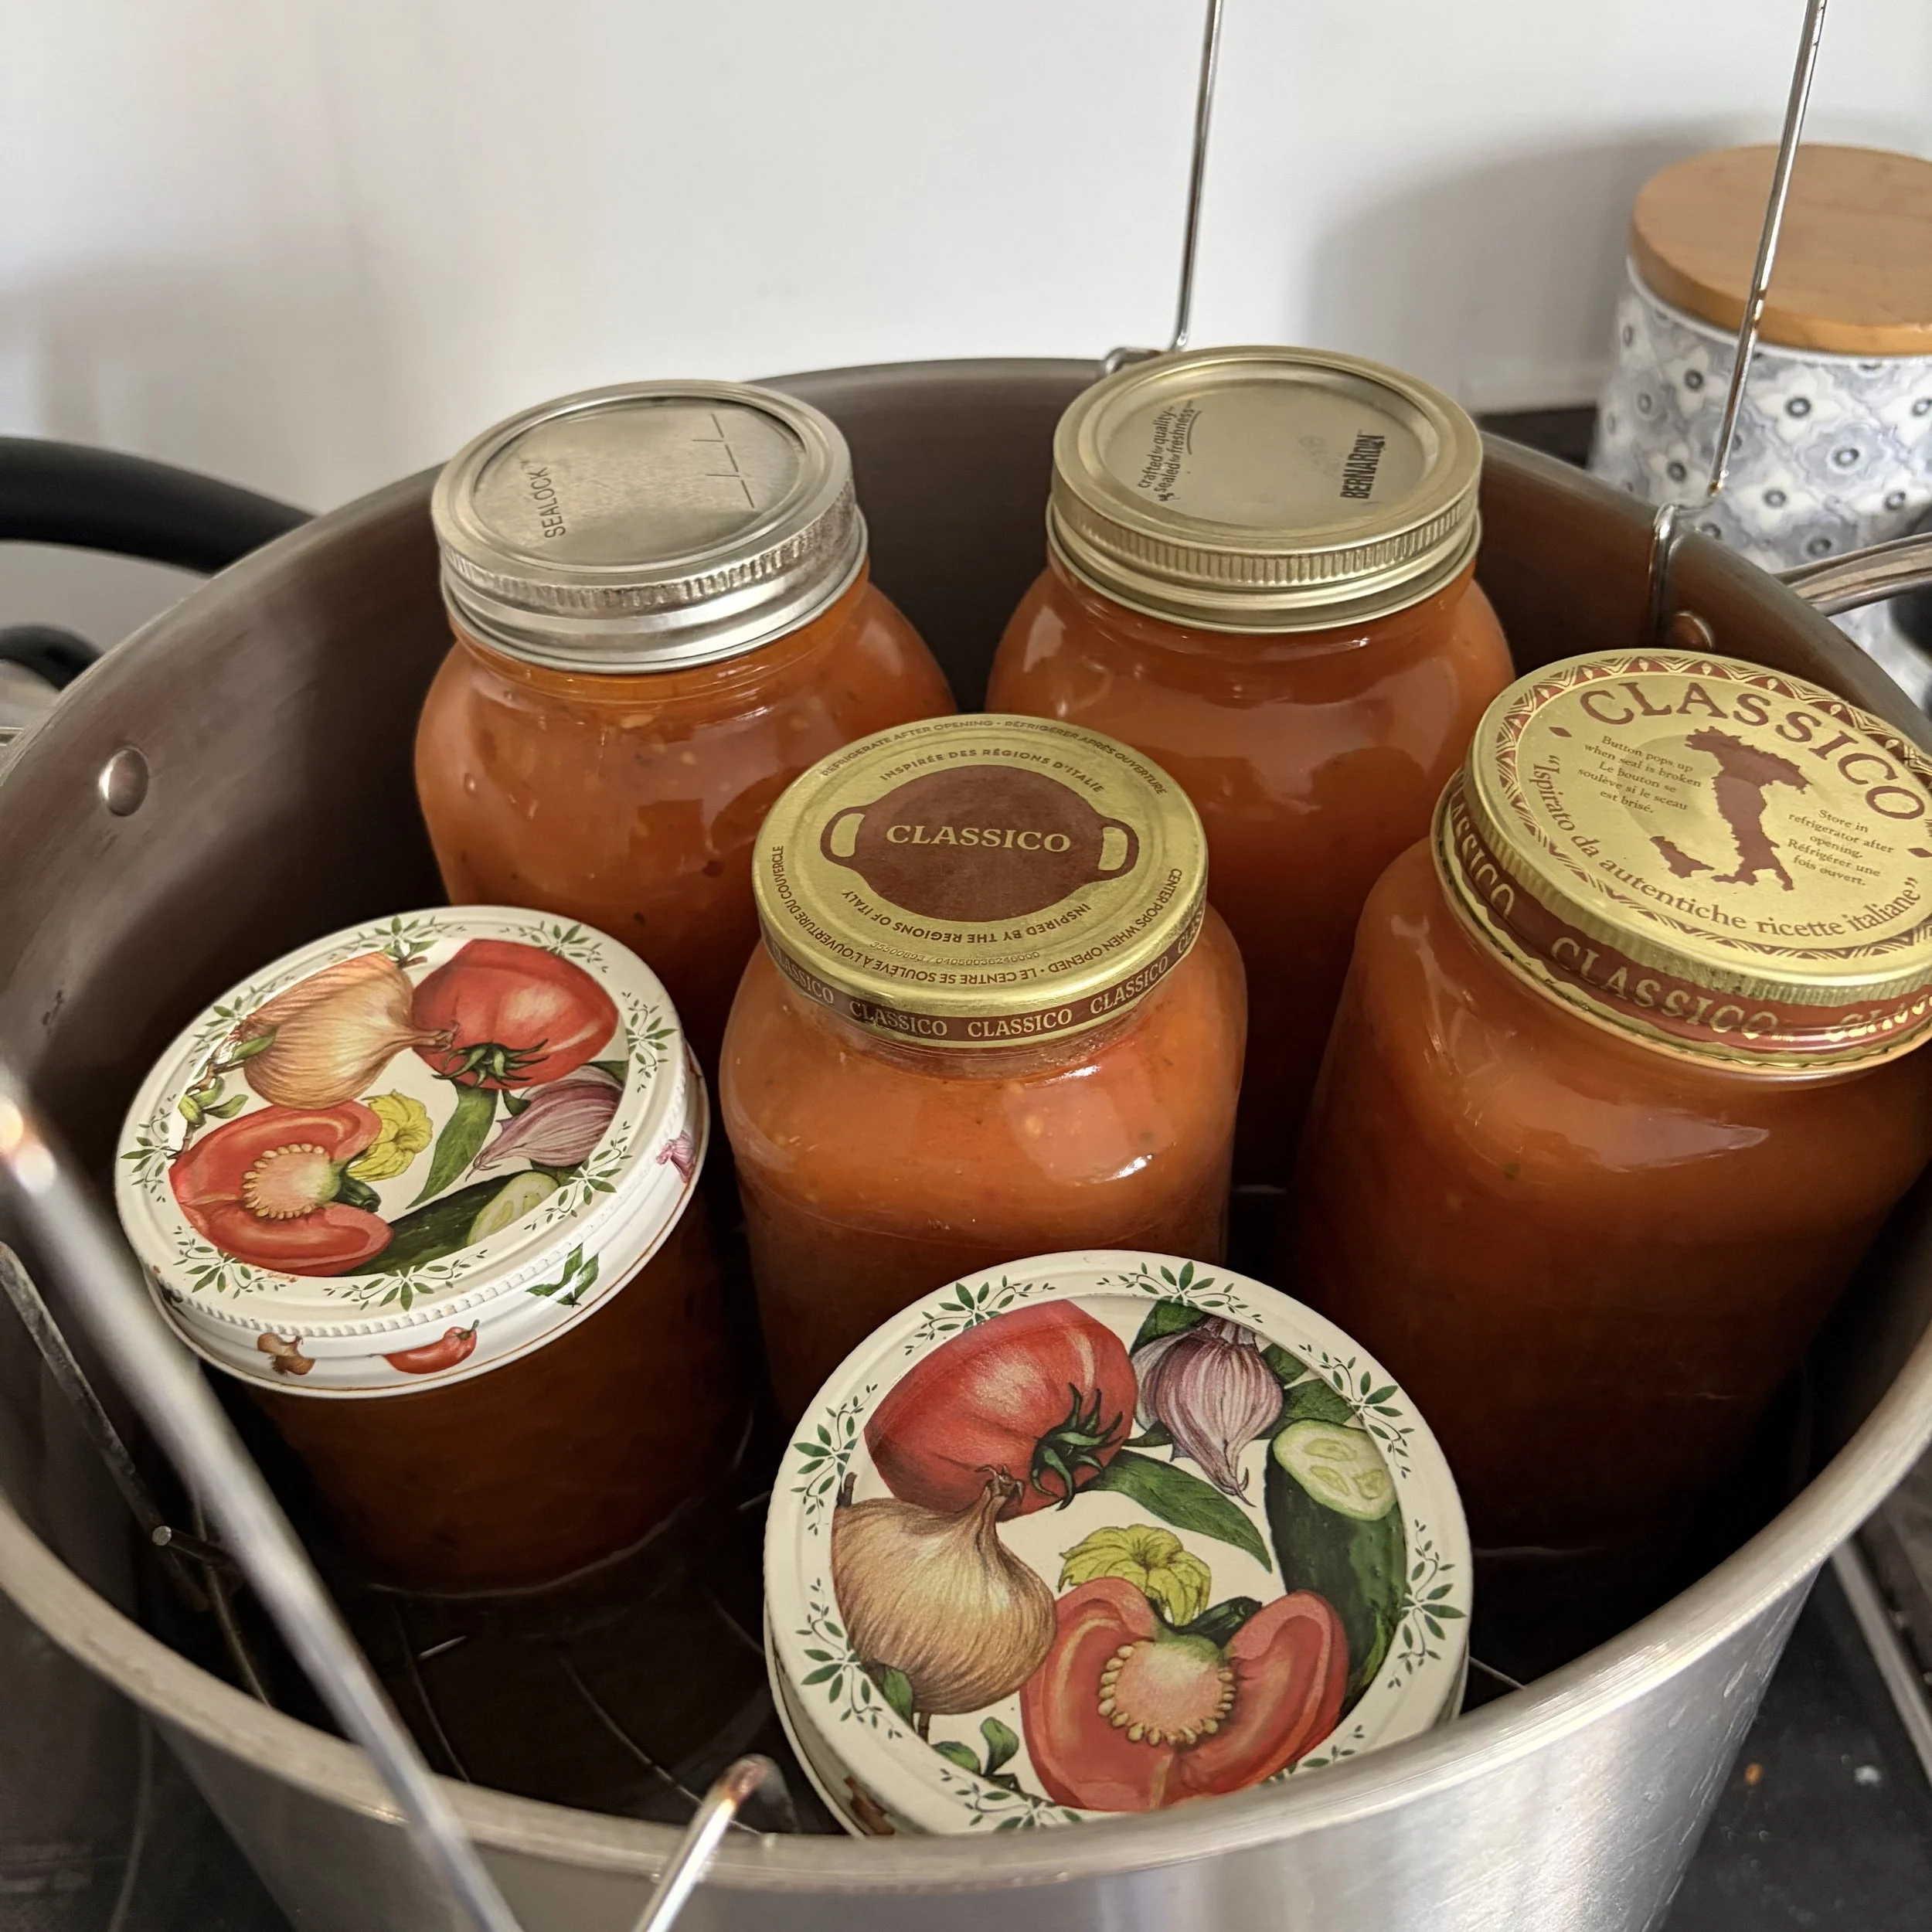
Using a jar lifter, carefully lower the filled jars onto the rack, keeping them upright.
Make sure the jars aren't overcrowded and that water can circulate freely around them.
Cover the canner with its lid.
Step 6: Process the Jars
Bring the water to a full, vigorous rolling boil.
Start your processing timer only when the water has reached a full rolling boil.
Maintain a continuous boil for the entire processing time specified in your tested recipe.
The correct processing time depends on:
There is no single processing time that is safe for every type of preserve.
If the water stops boiling during processing, bring it back to a full rolling boil and restart the processing timer from the beginning.
Never shorten the recommended processing time.
Step 7: Let the Jars Rest
Once the required processing time has elapsed:
Turn off the heat.
Carefully remove the canner lid, lifting it away from you to avoid the steam.
Leave the jars in the hot water for 5 minutes, following the Bernardin method.
Using a jar lifter, remove each jar carefully, keeping it upright.
Place the jars on a clean towel-covered surface, leaving approximately 2 inches (5 cm) between them.
Do not tilt the jars, turn them upside down, or attempt to tighten the screw bands.
Step 8: Cool the Jars Undisturbed
Allow the jars to cool at room temperature for 12–24 hours.
You may hear the familiar pop! of the lids sealing as they cool.
It's always one of the most satisfying sounds of home canning!
However, that little sound alone doesn't guarantee a proper seal.
Avoid moving the jars or pressing on the lids while they're cooling.
Step 9: Check the Seals
After the jars have cooled for 12–24 hours:
Remove the screw bands.
Examine the centre of each lid. A properly sealed lid should be slightly concave, or curved inward.
Press gently on the centre of the lid. It should not move up and down.
Carefully check that the lid remains firmly attached to the jar.
If a jar hasn't sealed, refrigerate it promptly or freeze its contents in a suitable container.
Reprocessing may be possible under certain conditions, but only when the food was prepared according to a validated canning procedure. Follow the timing and reprocessing instructions provided by a reliable canning authority.
Remember: a sealed lid doesn't automatically mean the food inside was safely processed.
A vacuum seal tells you that the lid has sealed, but it doesn't confirm that the correct heat treatment was used.
Step 10: Label and Store Your Preserves
Once your jars have cooled completely and their seals have been checked:
Remove the screw bands before storage.
Wash and dry the jars.
Label each jar with the contents and preparation date.
Store in a cool, dry, dark location.
For best quality, use your homemade preserves within approximately one year.
Always inspect your jars before opening them.
Discard any jar showing leakage, a bulging or unsealed lid, mould, or other signs of spoilage.
Never taste canned food to determine whether it's safe. Some hazards, including botulinum toxin, cannot be detected by taste, smell, or appearance.
Adjusting Processing Times for Altitude
Altitude affects the temperature at which water boils. The higher your elevation, the lower the boiling temperature.
This means boiling-water processing times must be increased at higher elevations to ensure adequate heat treatment.
The following table shows the standard Bernardin altitude adjustments for recipes to which this chart applies.
ElevationAdditional Processing Time0–1,000 ft (0–305 m)No adjustment1,001–3,000 ft (306–914 m)Add 5 minutes3,001–6,000 ft (915–1,829 m)Add 10 minutes6,001–8,000 ft (1,830–2,438 m)Add 15 minutes8,001–10,000 ft (2,439–3,048 m)Add 20 minutes
These adjustments are added to the processing time specified in the recipe.
If your scientifically tested recipe provides different altitude instructions, always follow the directions supplied with that recipe.
Common Home Canning Mistakes to Avoid
Even experienced home canners can make mistakes that affect the safety of their preserves.
Changing the proportions in a tested recipe. Adding vegetables, reducing vinegar, thickening a sauce, or changing ingredient quantities can affect acidity and heat penetration.
Relying on pH readings alone. Measuring the acidity of a homemade preparation does not replace the scientific validation of the recipe and its heat-processing method.
Reusing flat sealing lids. Standard single-use metal sealing lids should be replaced for every new batch of preserves.
Shortening processing times. Even if your jars appear to seal perfectly, the full processing time is essential.
Skipping the boiling-water treatment. Pouring hot food into jars and immediately sealing them, sometimes called open-kettle canning, is not a substitute for proper processing.
Using a water bath for low-acid foods. These foods generally require pressure canning according to a scientifically tested recipe.
The Joy of Home Preserving
For me, home canning is one of the great pleasures of seasonal cooking.
It's a way to make the most of the garden harvest, reduce food waste, and enjoy the flavours of summer long after the growing season has ended.
With the right equipment, reliable recipes, and safe processing methods, preserving food becomes a rewarding part of the kitchen routine.
And there's something especially lovely about opening the pantry in the middle of winter and seeing all those beautiful jars of homemade goodness waiting on the shelves.
Trusted Home Canning Resources
If you'd like to learn more about safe home canning or find scientifically tested recipes, these organizations provide valuable information:
Health Canada — Home canning and food safety recommendations
Bernardin — Home canning guides, tested recipes, and altitude adjustments
National Center for Home Food Preservation (University of Georgia) — Research-based home food preservation recommendations
USDA Complete Guide to Home Canning — Scientifically tested canning procedures and processing guidelines
These resources can help you choose the appropriate preservation method and understand the safety precautions needed for different foods.