


🚗 A Family Affair: Crafting a Lightning McQueen Birthday Cake
Support "Feeding a Crowd" – Keep the Recipes Coming!
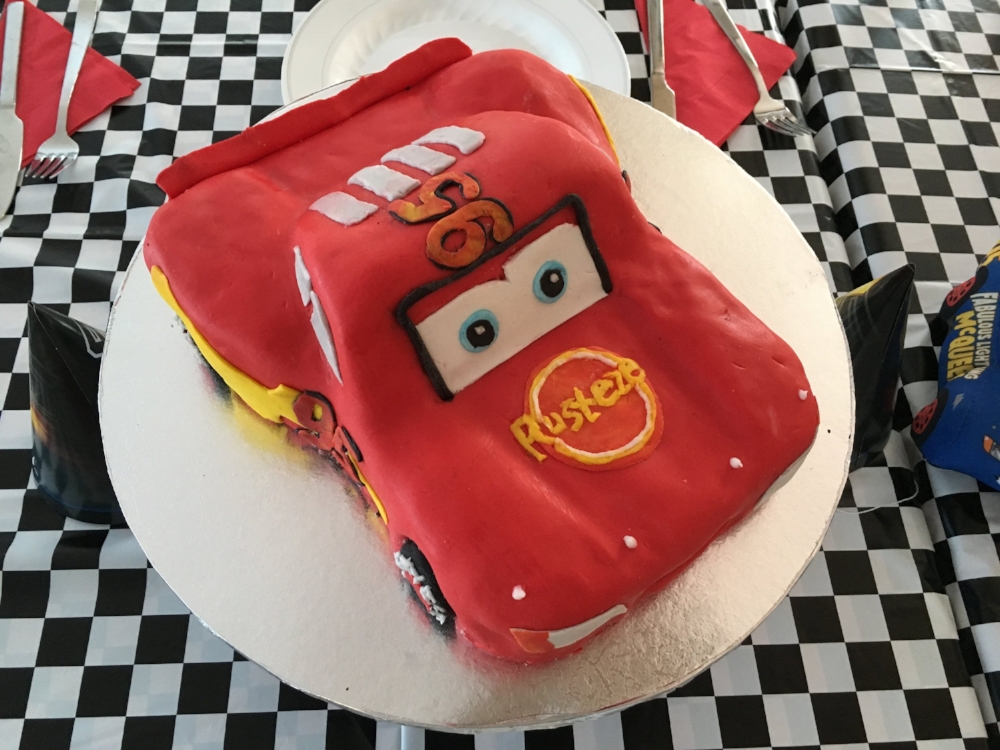
Lightning McQueen Cake How-to
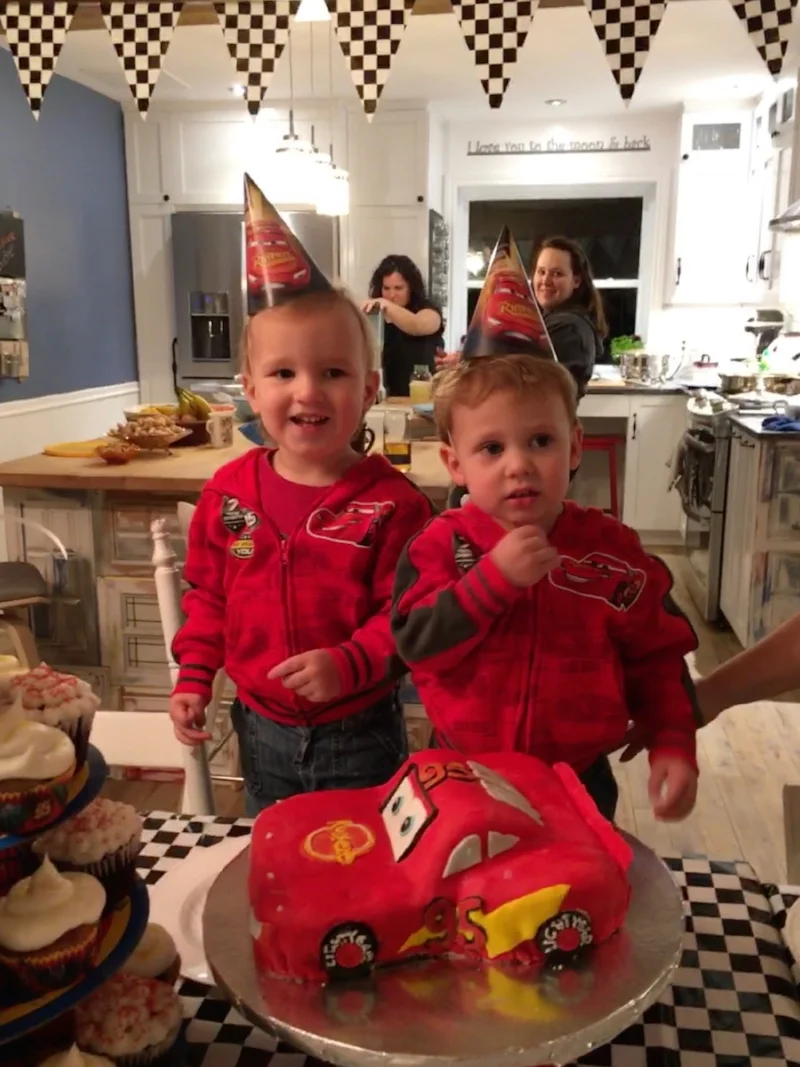
In 2018, my son Xavier and I embarked on a delightful baking adventure to create a Lightning McQueen cake for my grandson Sylbert's birthday. Xavier's meticulous attention to detail brought the iconic character to life, making it a memorable centerpiece for the celebration. This cake not only delighted Sylbert but also became a favorite among readers. Now, I'm excited to share an updated version of our tutorial, enriched with clearer instructions and tips to help you recreate this showstopper.
Materials & Ingredients
Cakes: One 10x14-inch and one 8x8-inch chocolate cake (I used the Hellman’s Chocolate Cake recipe)
Buttercream Icing: 2 cups, for assembling and crumb-coating
Fondant:
Red: 16 oz
Black: 4 oz
White: 4 oz
Yellow: 4 oz
Blue: small amount (tinted from white using blue food coloring)
Orange: mix red and yellow fondant
Grey: mix black and white fondant
Additional Items:
Oreos (for wheels)
Rolling pin
Sharp knives for sculpting
Food-safe brushes
Water (for adhering fondant)
Reference image or toy model of Lightning McQueen
Step-by-Step Instructions
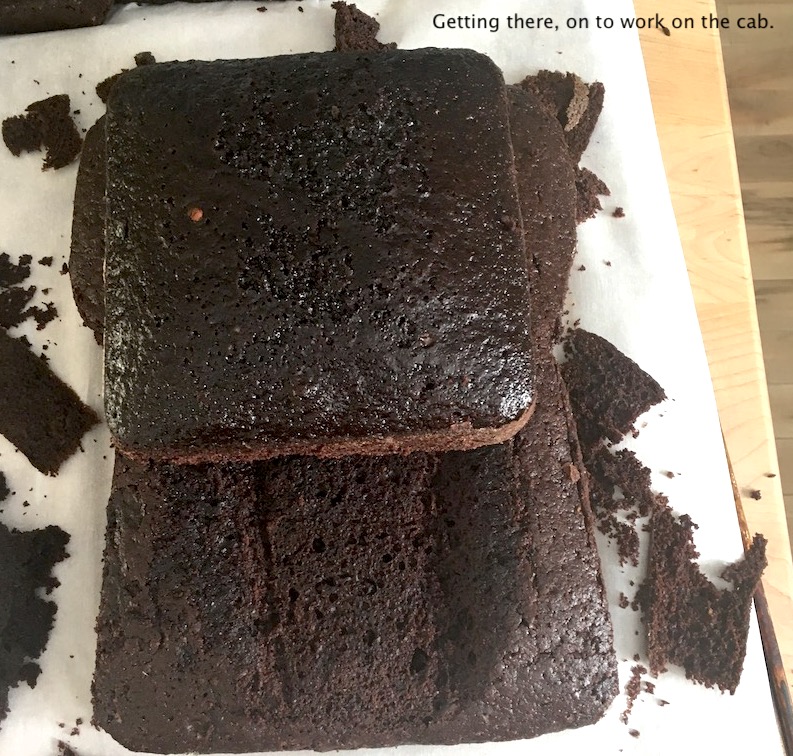
Bake the Cakes: Prepare both cake sizes and allow them to cool completely.
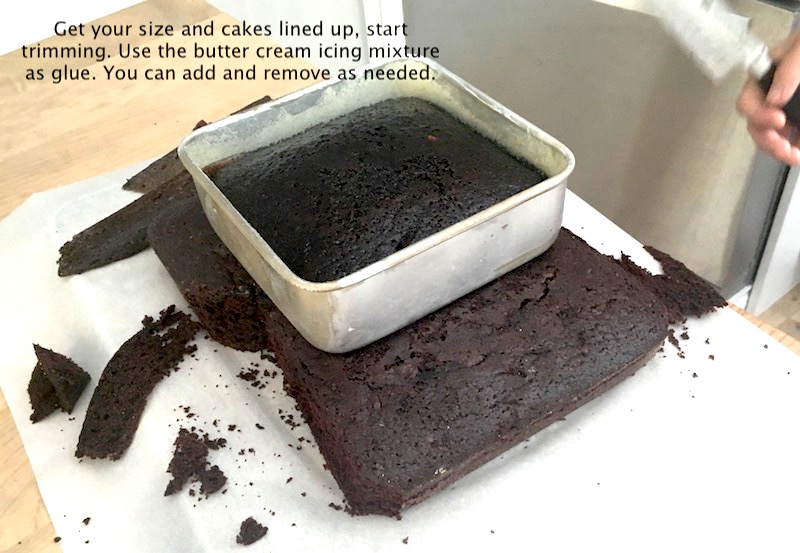
Assemble the Base: Place the 10x14-inch cake on your serving board. Use buttercream to adhere the 8x8-inch cake on top, positioning it where the car's cabin will be.
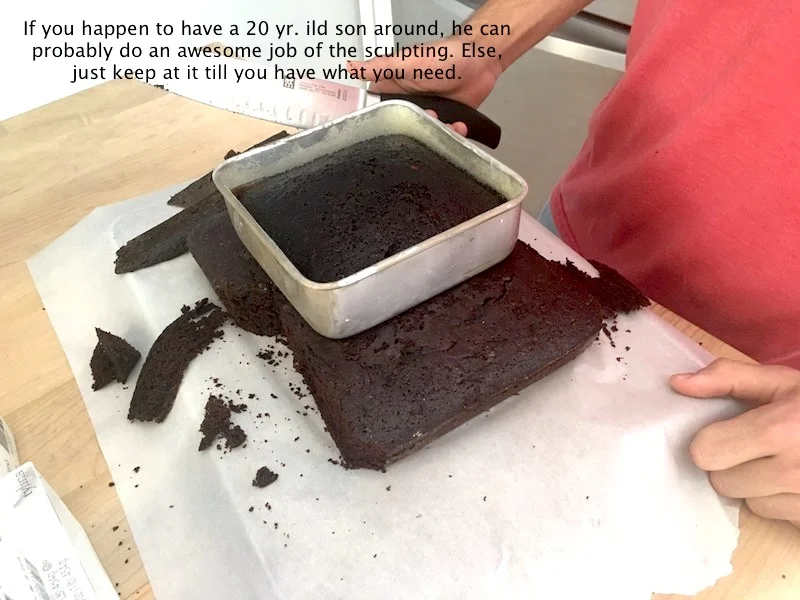
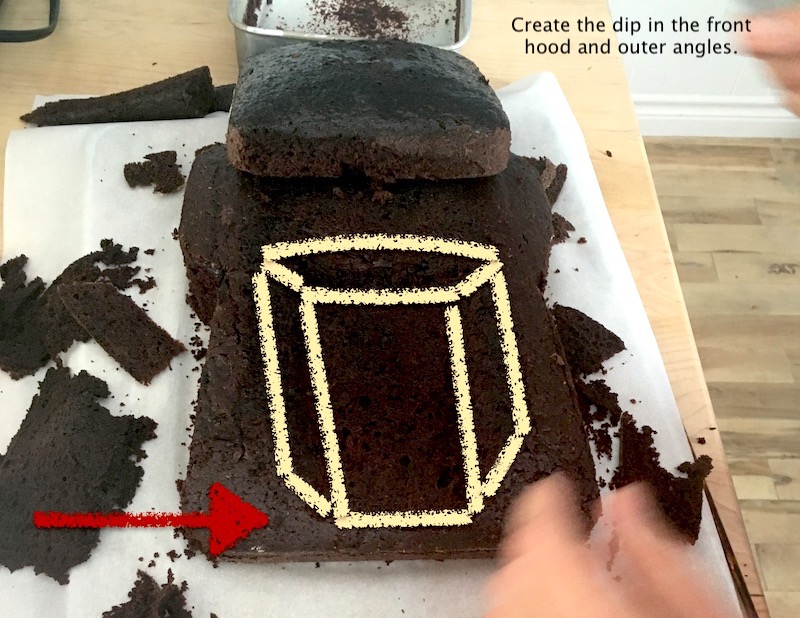
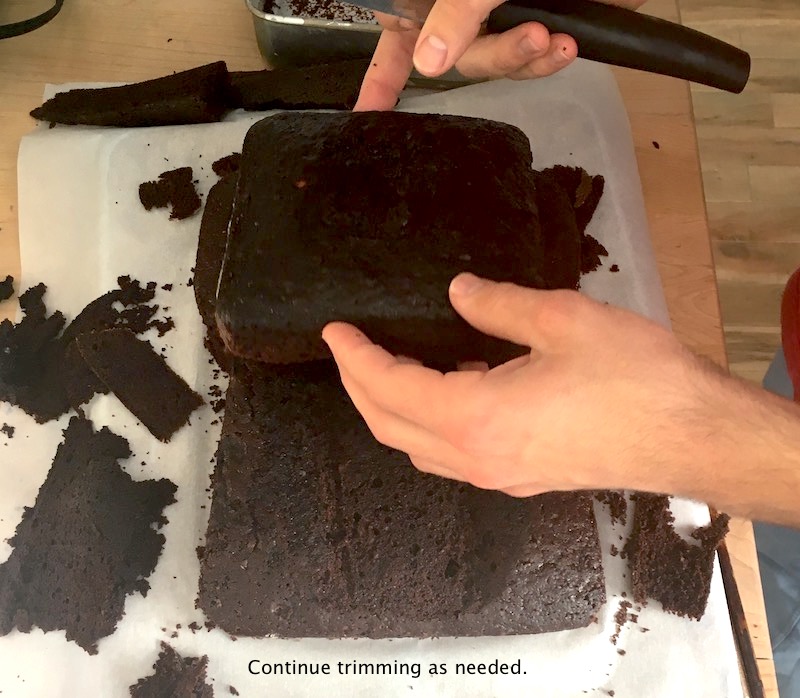
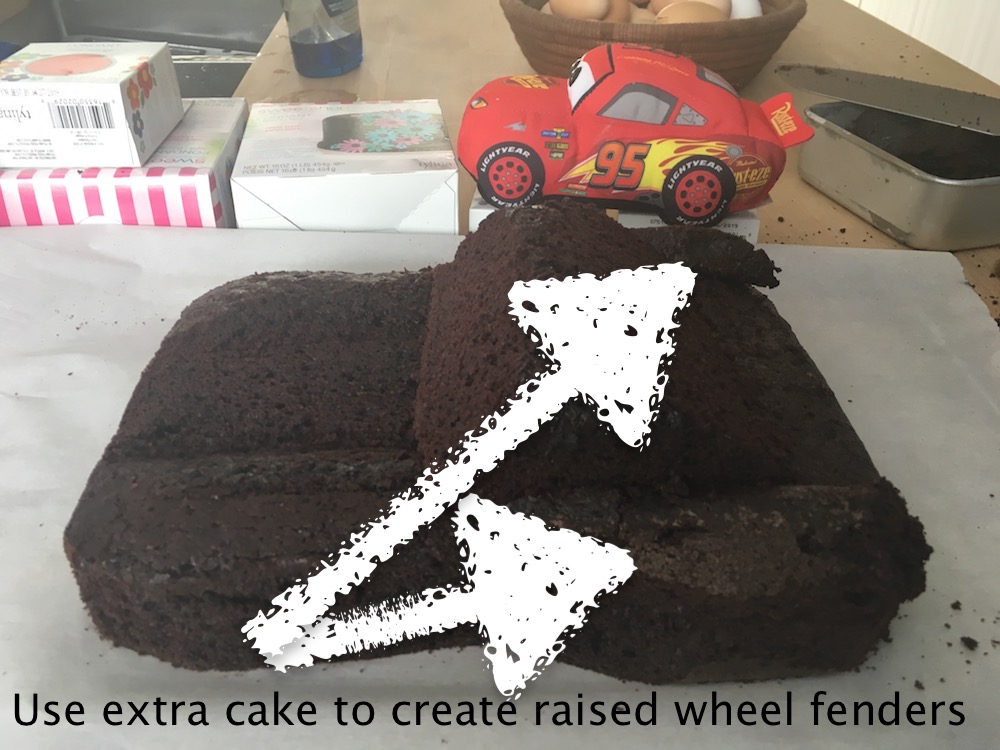
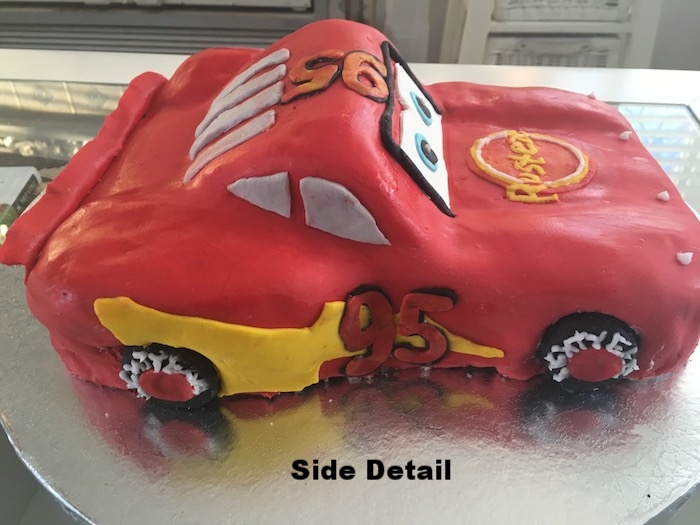
Carve the Shape: Using a sharp knife and your reference image, sculpt the cakes into Lightning McQueen's shape, paying attention to the curves and contours.
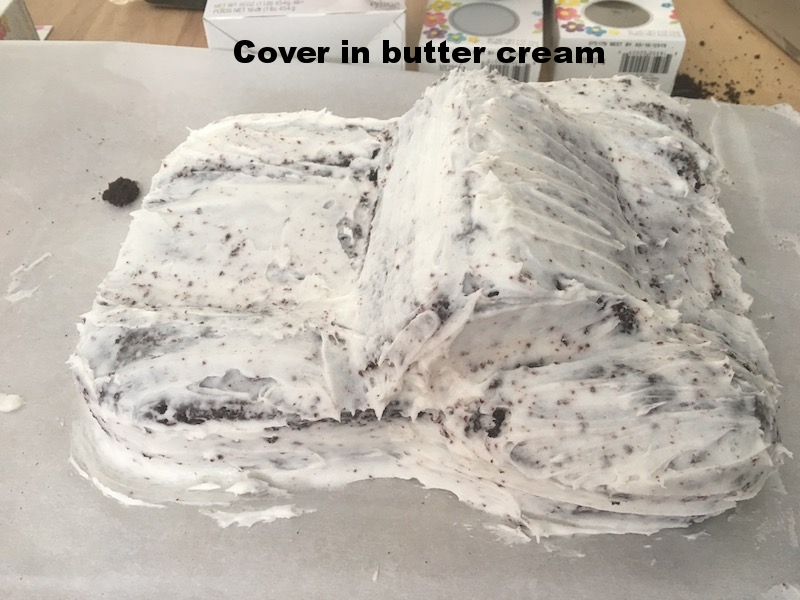
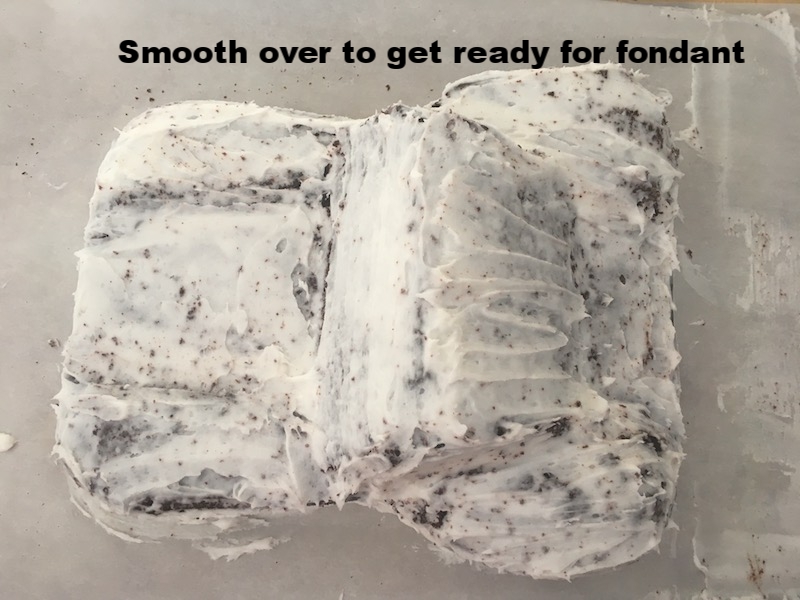
Crumb Coat: Apply a thin layer of buttercream over the entire cake to seal in crumbs. Refrigerate for about 30 minutes to set.
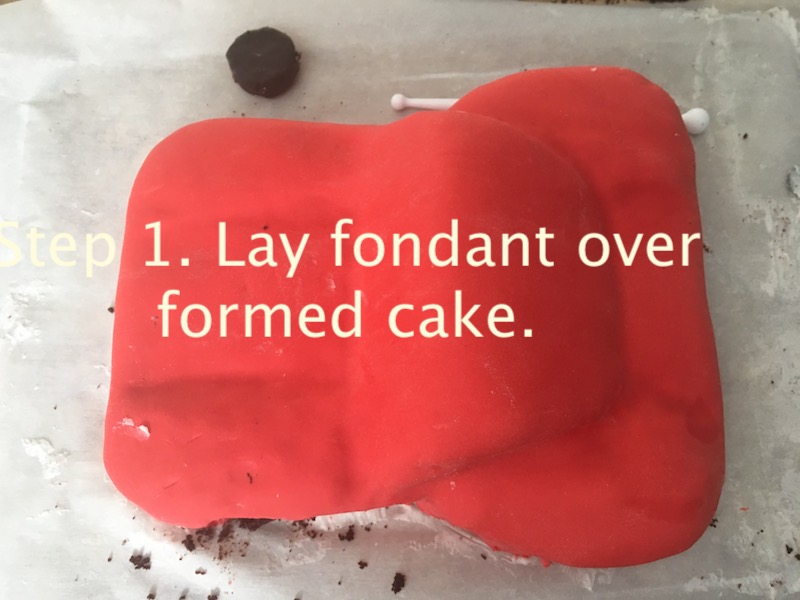
Apply Fondant:
Roll out the red fondant and cover the entire cake, smoothing it down gently.
Use black fondant for the windows and tires.
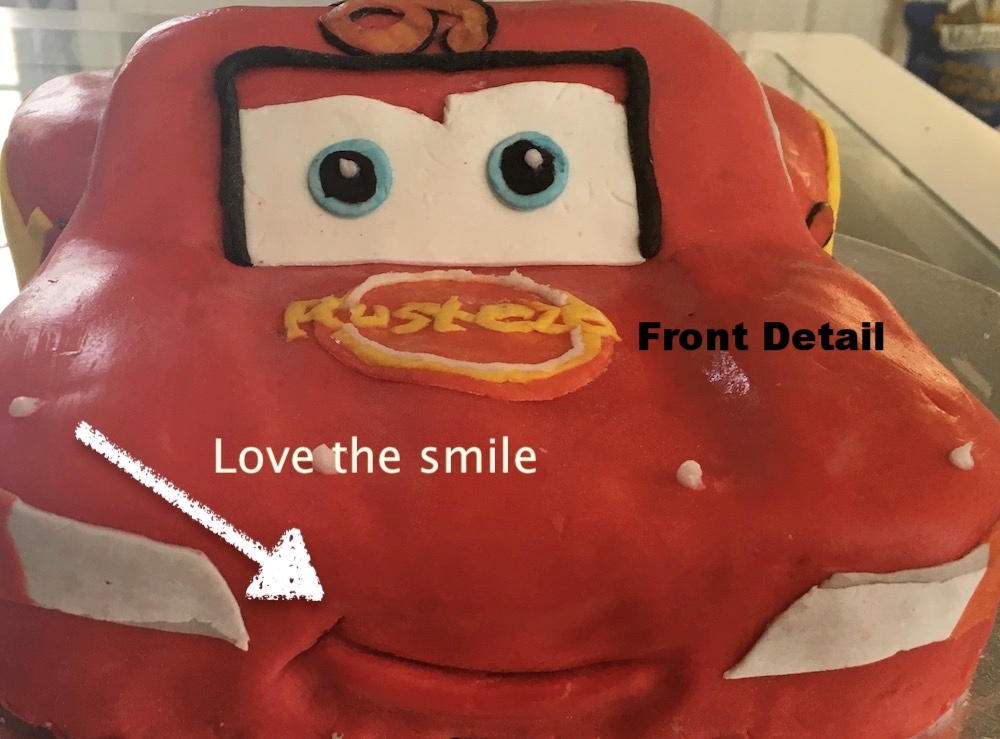
White fondant can be used for the eyes and other details.
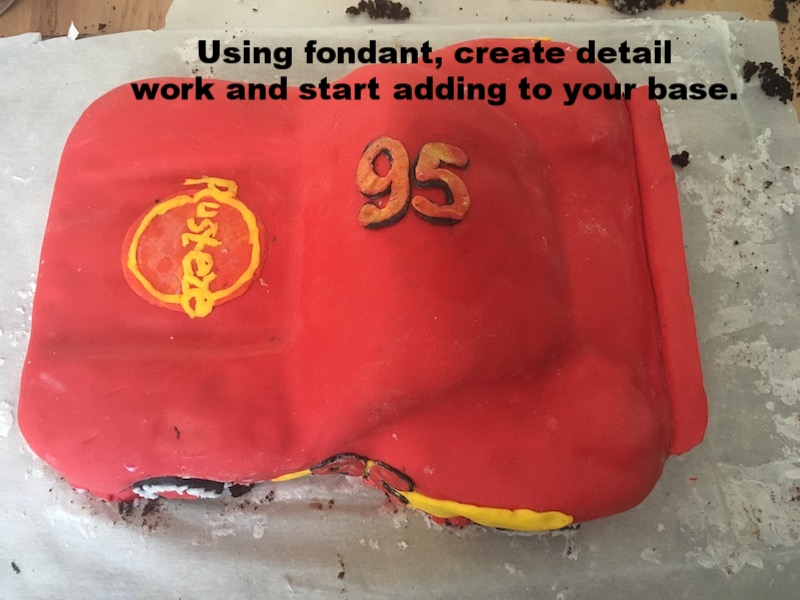
Add yellow, orange, blue, and grey fondant accents as needed, referring to your reference image for accuracy.
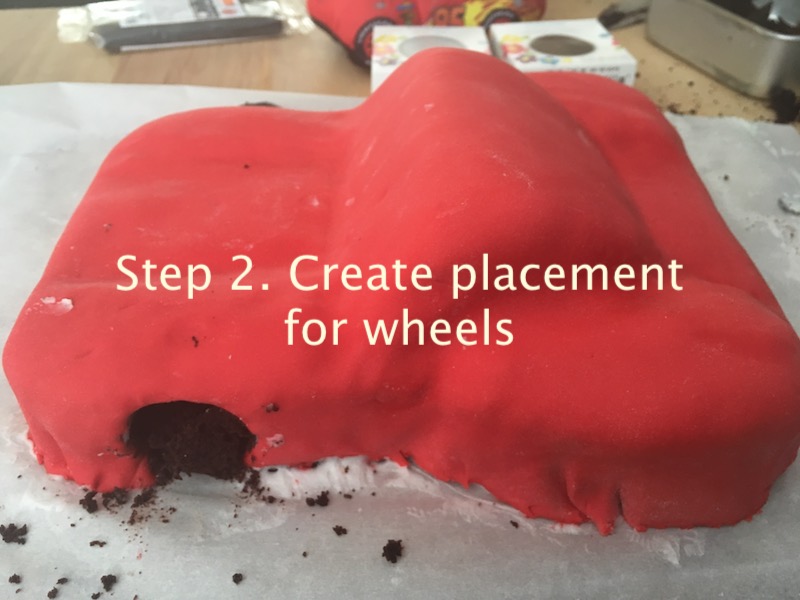
Add Wheels: Place Oreos at the appropriate spots to serve as wheels, securing them with a bit of buttercream or fondant.
Final Touches: Use food-safe brushes and water to adhere any additional fondant details. Ensure all elements are securely attached and make any necessary adjustments for symmetry and proportion.


TIPS:
For the orange color fondant, use and mix red and yellow fondant, to create the grey, add a bit of black to white fondant. For the blue of the eyes, add blue food coloring to white fondant.
Fondant: When rolling out your fondant, sprinkle your surface with a light dusting of flour, roll out your fondant from the center going outwards. Manipulate fluidly, do not be afraid to adjust as you lay it over the shaped cake, trim as needed.
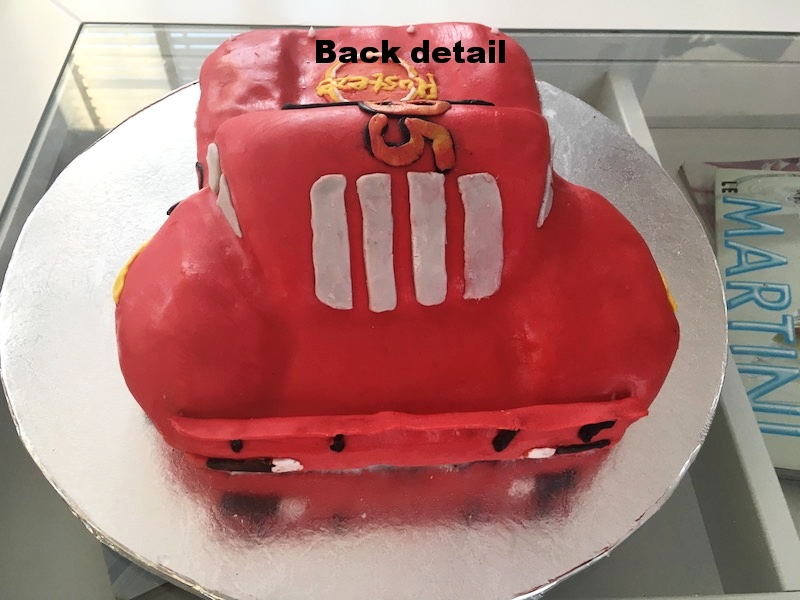
Back Spoiler: To make the back spoiler, fold a thin piece of red fondant and use water to set it at the back. Roll black fondant around toothpicks and use these to hold it in place.
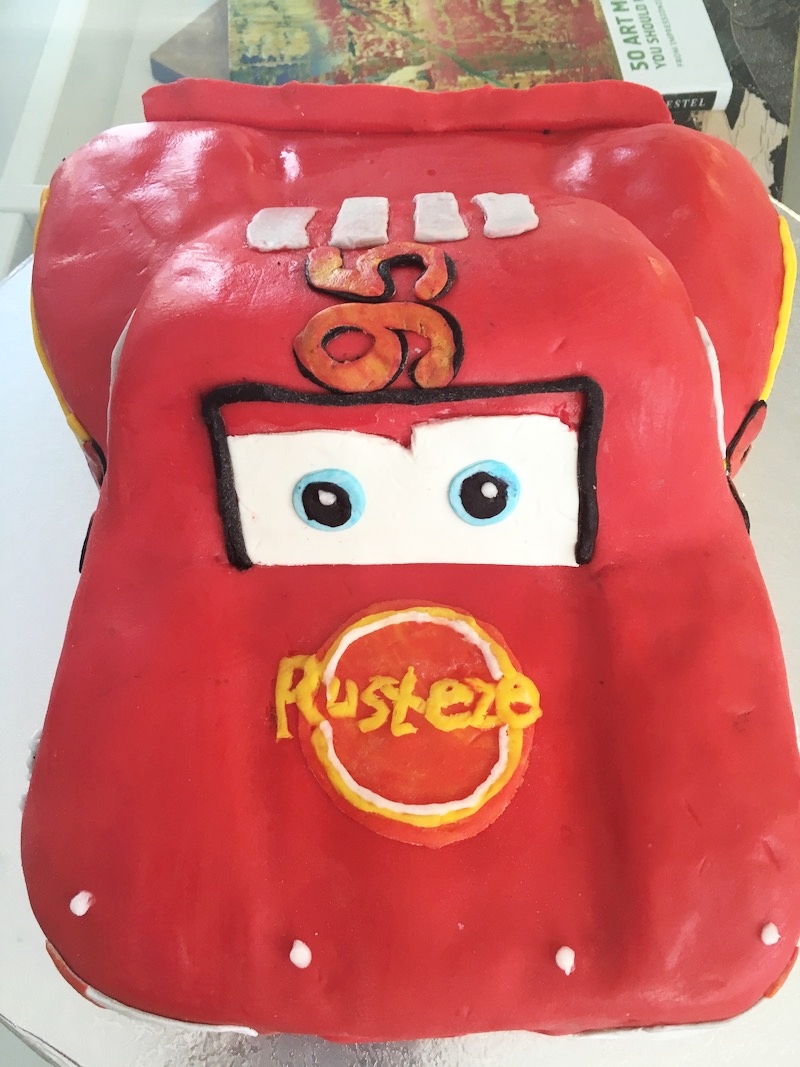
Forms: Use precut letter molds and frosting tips for different size circles.
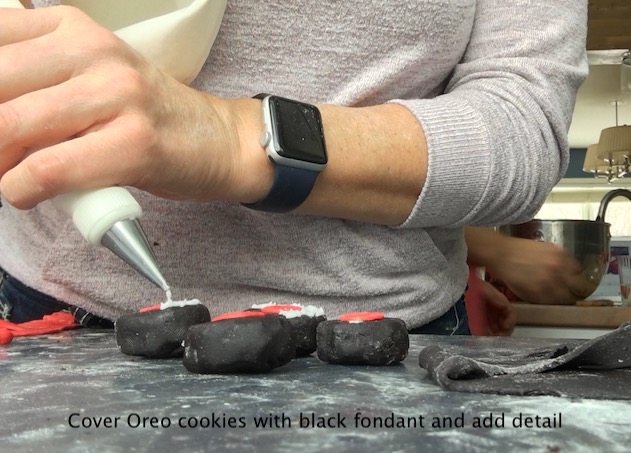
Wheels: Trim or keep Oreos same size, roll out black fondant and cover the Oreos, to create the wheels, cut out red circles for the center and use a tiny piping tip to write “Lightyear” around the perimeter of the wheel.
Cleaning: Use a humid pastry brush to clean as you go.


